
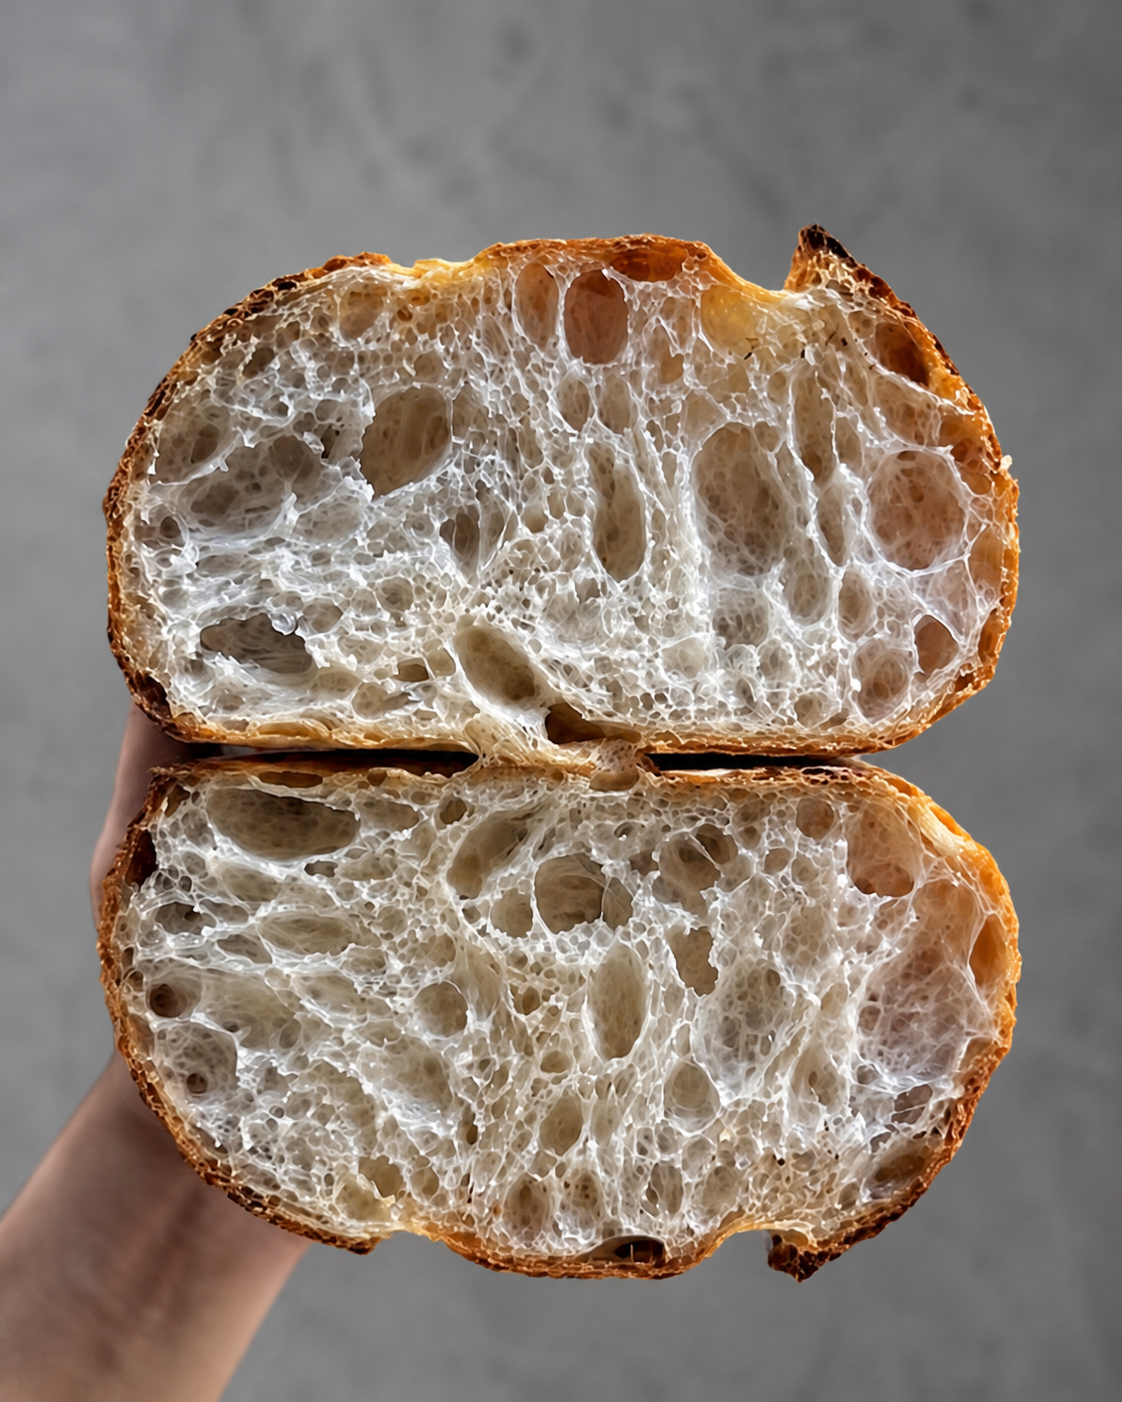
Let’s keep it real—high hydration sourdough isn’t just bread, it’s a flex.
When you dial in a dough with elevated hydration, you’re looking at a crust that shatters on touch and an interior that’s wildly soft, airy, and straight-up luxurious. The crumb comes out open, balanced, and almost custardy in texture. And the best part? This loaf doesn’t dry out overnight—it stays fresh, soft, and flavorful for days.
Now yeah, it looks easy on social media. Perfect loaves everywhere, crazy open crumbs, bakery-level results… but most people jump into high hydration way too early. No structure, no control—just vibes. And that usually ends with a flat, lifeless loaf and a bruised ego.
Let’s not do that.
⚡ Batch Info
- Yield: 2 artisan loaves
- Active time: ~2 hours
- Resting/fermentation: ~13–14 hours
- Total: ~15–16 hours
🧠 What Hydration Actually Means
Hydration is just your water-to-flour ratio. That’s it.
You calculate it by dividing total water by total flour (including what’s inside your starter). In this formula, we’re working with a high hydration range (around 80%+), which is what gives you that open crumb and soft interior.
🧾 Ingredients (Clean & Simple)
- 800g bread flour
- 640g water
- 240g active sourdough starter (100% hydration)
- 16g salt
🌀 Method (No Fluff, Just Results)
1. Autolyse (Foundation Move)
Mix warm water with flour until everything’s fully combined.
No dry bits. No shortcuts.
Let it rest 45–60 minutes.
This step builds extensibility and makes your dough way easier to handle later.
2. Mix It Up
Add your starter and salt into the rested dough.
Use your hands—you’ll feel when everything is properly combined.
Let it sit for another 45 minutes.
3. Bulk Fermentation (Where the Magic Starts)
Once the starter hits the dough, fermentation is on.
Give it around 4 hours at a warm temp.
But don’t babysit the clock—watch the dough.
You want:
- visible rise
- soft, airy feel
- light bubbles forming
4. Slap & Fold (Build That Strength)
Take the dough out and start working it.
Lift → slap → fold → repeat.
Do this until:
- dough smooths out
- stickiness drops
- structure starts forming
Rest 30 minutes after.
5. Coil Folds (Controlled Power)
Now we level up.
Lift the dough from the center, fold it under itself. Rotate and repeat.
Do 3–5 rounds every 30 minutes.
By the end:
- dough should feel stronger
- less sticky
- slightly tacky but not messy
💡 Pro Tip: Windowpane Check
Stretch a small piece of dough.
If it turns thin and translucent without tearing—you nailed gluten development.
6. Check Fermentation
After bulk:
- dough should be puffed up
- edges rounded
- full of air
If not → give it more time.
7. Preshape (Don’t Skip This)
Lightly flour your surface.
Divide dough into 2 pieces.
Gently shape into rounds and let them rest 30 minutes.
This step builds structure before final shaping.
8. Final Shaping (Lock It In)
Shape into:
- Batard (oval) OR
- Boule (round)
Create surface tension without destroying the air inside.
❄️ Cold Proof (Flavor Upgrade)
Place dough in fridge overnight.
Slow fermentation = deeper flavor + better texture.
🔥 Bake Setup
Preheat oven to 475°F (246°C)
Score the dough clean and confident.
Bake:
- 20 min covered
- then 18–20 min uncovered at 450°F (232°C)
⏳ Cool Down
Let it rest at least 2 hours before slicing.
Yeah it’s hard—but cutting early ruins the crumb.
🔑 Keys to Actually Winning This
🌡️ Control Temperature
Warm dough = faster fermentation
Cold dough = slow + controlled
⚡ Use an Active Starter
Weak starter = weak loaf
Peak activity = open crumb
🤲 Handle Gently
Wet dough needs finesse, not force
Rough handling kills structure
👀 Watch the Dough, Not the Timer
Time is a guideline
Dough tells the truth
🎯 Stick to One Formula
Switching recipes = confusion
Consistency = mastery
💯 Final Word
High hydration sourdough isn’t beginner-friendly—but once you get it right, it hits different.
Mess it up? Cool. Run it back.
Every bake sharpens your instincts.
That perfect loaf? It’s coming