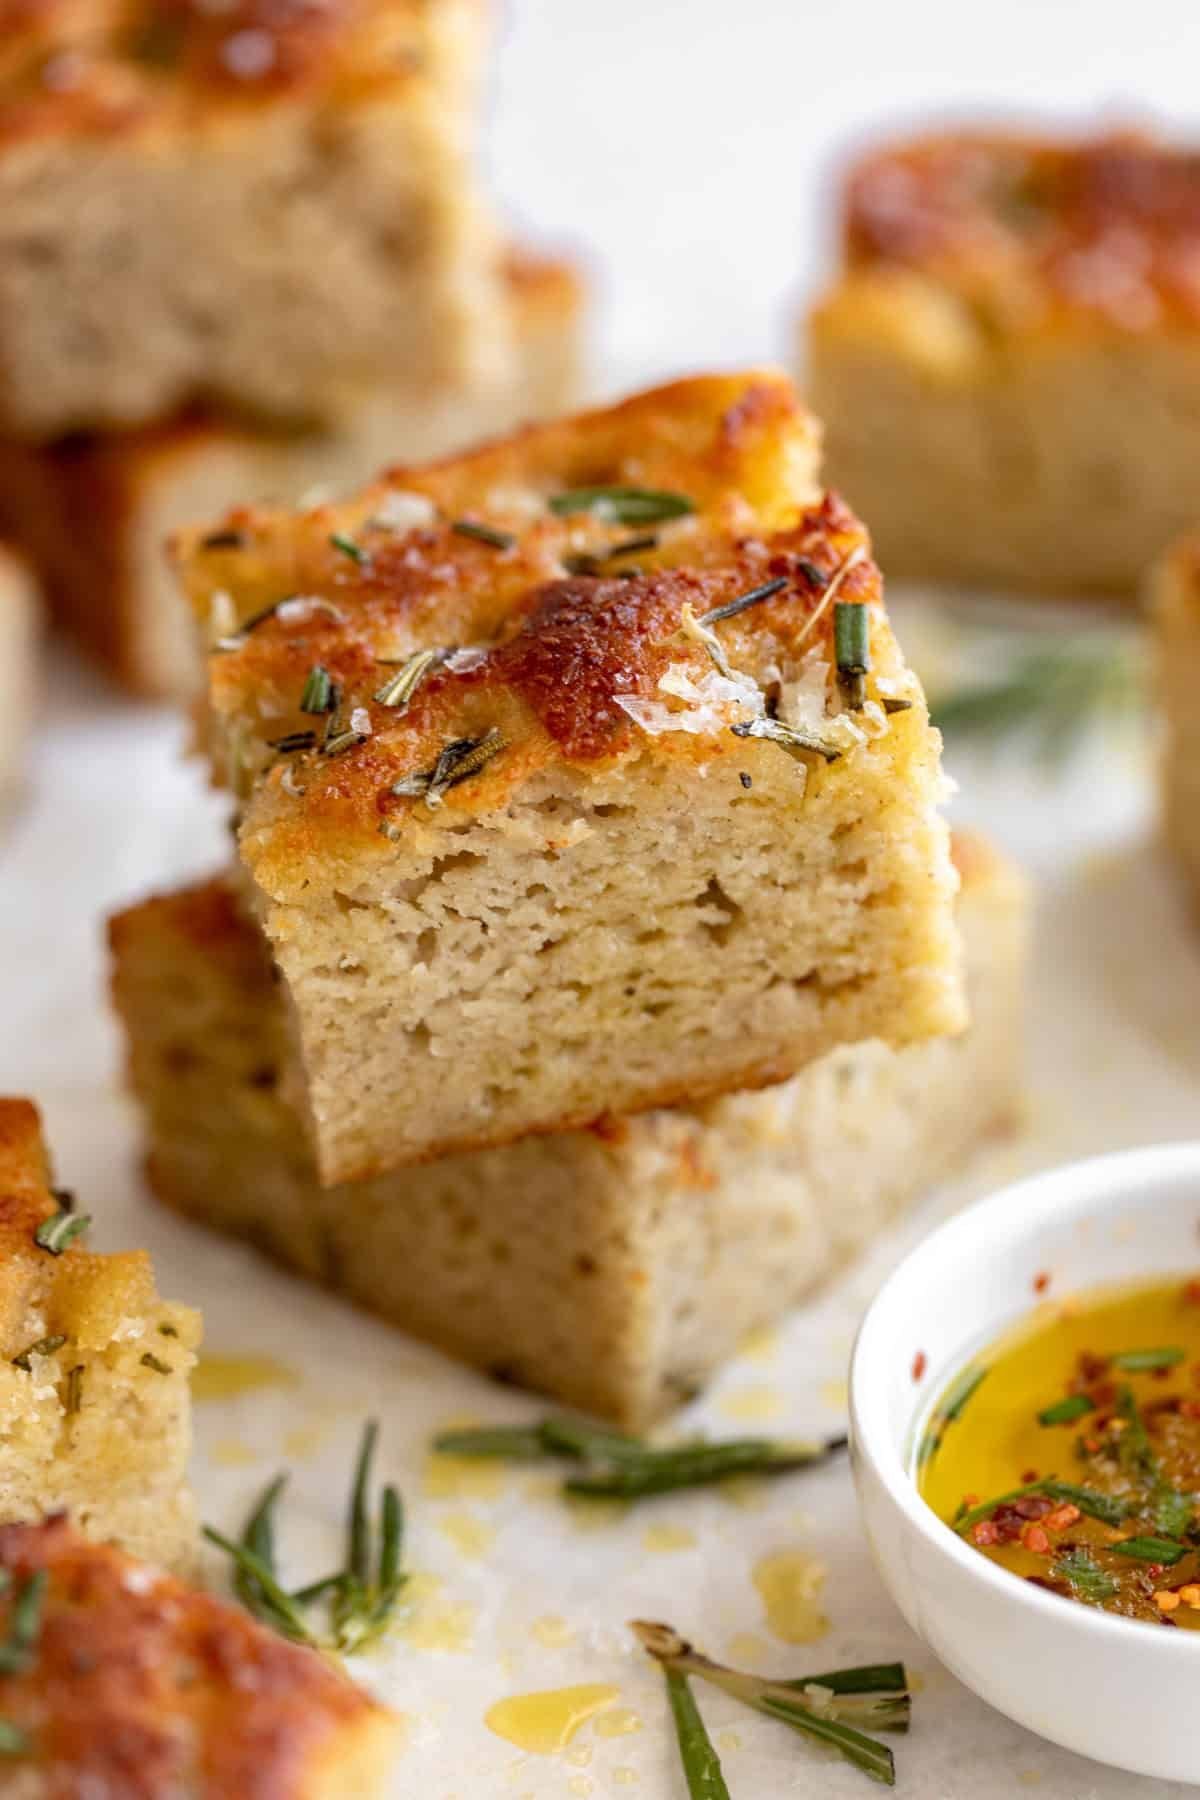
Gluten-free focaccia might sound like a compromise—but this one? Not even close. It’s soft, airy, and loaded with flavor, delivering that classic Italian flatbread vibe without touching wheat or gluten-heavy grains.
Instead of traditional flour, this version leans on a gluten-free blend that gives you a lighter, more delicate crumb with a moist, tender bite. And yeah—you still get that golden, crispy top, rich olive oil finish, and those iconic dimples that hold onto all the good stuff.
Think fresh herbs, roasted garlic, juicy cherry tomatoes, maybe a few olives… every bite hits with texture and flavor.
Even without gluten, this focaccia keeps it legit—fluffy inside with just enough chew to keep things interesting.
Why This One’s Worth Making
- Super doable at home—no complicated steps
- Naturally dairy-free (depending on toppings)
- Easy to switch up with different flavors
- Works as a side, sandwich base, or snack board star
Whether you’re gluten-free or just switching things up, this loaf delivers without feeling like a substitute.
Time Breakdown
- Prep: 10 minutes
- Rise: 45–60 minutes
- Bake: 25–30 minutes
- Total: About 1 hour 30 minutes
What You’ll Need
Dry Mix
- 2 cups gluten-free all-purpose flour (with xanthan gum)
- 1 tsp salt
- 1 tbsp sugar
- 2 tsp instant yeast
Wet Mix
- 1 cup warm water (40–45°C / 105–115°F)
- 2 tbsp olive oil (plus extra for topping)
Toppings (highly recommended)
- Fresh rosemary
- Cherry tomatoes (halved)
- Flaky sea salt
- Minced garlic
How to Make It
1. Wake Up the Yeast
Mix warm water, sugar, and yeast in a bowl. Let it sit for about 5 minutes until it turns foamy and active.
2. Mix It Up
Add in the flour, salt, and olive oil. Stir until you get a sticky, batter-style dough. (Gluten-free dough runs wetter—that’s exactly what you want.)
3. Let It Rise
Cover the bowl and let it sit in a warm spot for 45–60 minutes. It won’t double like regular dough, but it should look slightly puffed.
4. Shape the Base
Oil up your baking pan. Spread the dough evenly using damp hands or a spatula.
5. Build the Flavor
Drizzle olive oil over the top, then press your fingers into the dough to create those signature dimples. Load it up with rosemary, tomatoes, garlic, and a sprinkle of salt.
6. Bake It Right
Preheat your oven to 200°C (400°F). Bake for 25–30 minutes until the top turns golden and slightly crisp.
7. Cool & Slice
Let it rest for about 10 minutes before cutting. Best enjoyed warm when everything’s still soft and fragrant.
Pro Tips for a Better Bake
- Use a solid gluten-free flour blend with xanthan gum
- Dough should feel sticky—dry dough = dense result
- Don’t hold back on olive oil—it builds flavor and texture
- Metal pans help get those crispier edges
Common Questions
Why did mine turn out dense?
Gluten-free dough doesn’t stretch the same. Add a little more water or check if your yeast is still active.
Can I keep it dairy-free?
Yep—just skip any cheese toppings.
How do I store it?
- Room temp: 1–2 days
- Fridge: up to 5 days
- Freezer: up to 2 months
Reheat before serving to bring it back to life.
Can I swap yeast types?
For sure—if using active dry yeast, let it proof for about 10 minutes first.
Why didn’t it rise much?
That’s normal. Gluten-free dough doesn’t rise as much—look for a slight puff, not a full double.
Want it crispier?
Add extra olive oil to the pan and let it bake a few extra minutes.
Nutrition (Per Slice – approx. 1/8 loaf)
- Calories: 160–180 kcal
- Carbs: 25 g
- Protein: 3 g
- Fat: 6 g
- Fiber: 2 g
- Sugar: 1–2 g