
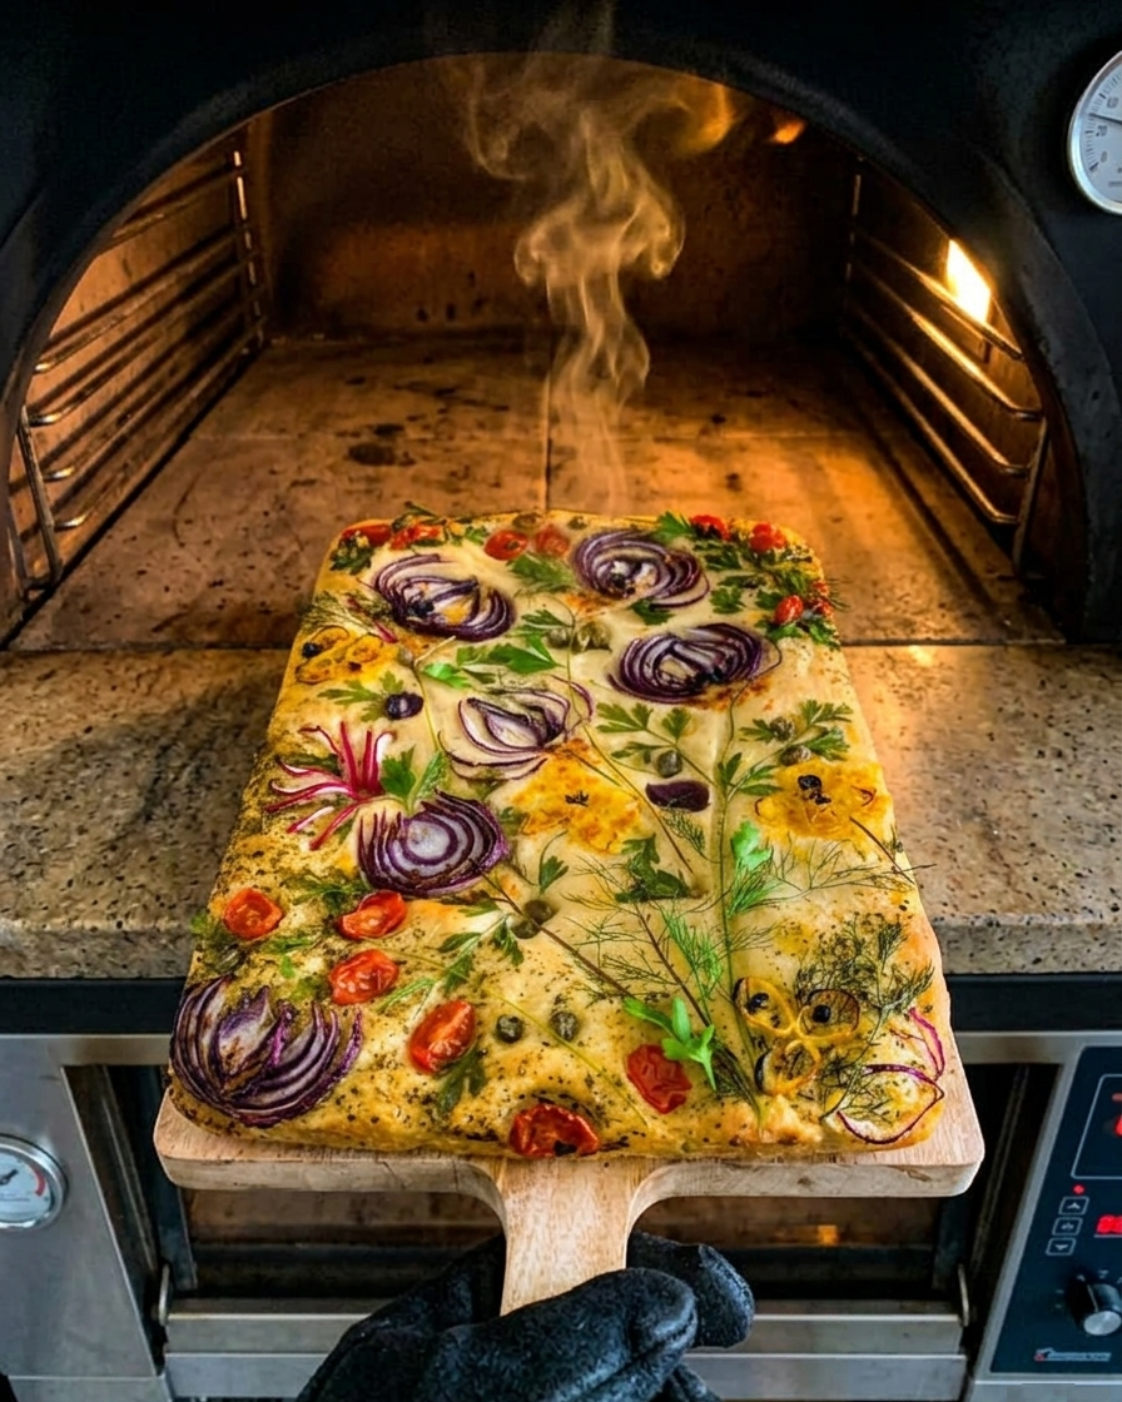
Watching people turn focaccia into edible art has been one of the most addictive food trends online. It’s not just baking anymore — it’s creativity, therapy, and comfort all in one pan.
I finally tried it myself after seeing so many designs floating around Pinterest, and honestly… it’s way more fun than I expected.
This is one of those recipes that works both ways:
- Super relaxing when you’re alone
- Super fun when you’re making it with kids
They can help with poking the dough, shaping designs, and decorating. It turns into a full creative kitchen moment.
And yeah… it looks too pretty to eat.
But trust me — once it comes out golden, crispy, and you dip it in good olive oil, it disappears FAST.
🧾 Ingredients
- 2 cups warm water (divided)
- 1 tbsp sugar
- 2.5 tsp active dry yeast
- ¼ cup olive oil (+ extra for pan & topping)
- 1 tsp salt (recommend increasing for better flavor)
- 5 cups bread flour or all-purpose flour
- Flaky sea salt (for topping)
- Fresh rosemary, chopped
- Assorted toppings:
- cherry tomatoes
- olives
- bell peppers
- herbs
- optional meats
👩🍳 Step-by-Step Instructions
1. Activate yeast
Mix warm water, sugar, and yeast in a bowl. Let it sit for 5–10 minutes until foamy.
2. Start dough
Transfer yeast mix into a bowl or stand mixer. Add 1 cup flour and mix.
3. Build dough
Add remaining water, olive oil, salt, and more flour gradually while mixing.
4. Adjust texture
Dough should be soft, slightly sticky, and pull away from bowl sides.
5. Knead
Knead 8–10 minutes until elastic and springy. Finish by hand if needed.
6. First rise
Place dough in oiled bowl, cover, and let rise 1–2 hours until doubled.
7. Pan prep
Generously oil a large baking tray (important for crispy base).
8. Shape dough
Transfer dough into pan. Stretch gently. Rest 10–15 mins if it resists stretching.
9. Cold proof (key step)
Cover and refrigerate overnight (this builds flavor + texture).
10. Next day
Remove from fridge and let sit 30 minutes at room temp.
11. Dimple time
Use oiled fingers to press deep dimples all over dough.
12. Add oil + salt
Drizzle olive oil generously into dimples and sprinkle flaky salt.
13. Decorate (art part 🎨)
Arrange vegetables, herbs, or designs on top like edible artwork.
14. Final rise
Let it rest 20–30 minutes before baking.
15. Bake
Bake at 450°F (230°C) for 20–25 minutes until golden and crisp.
16. Finish
Brush lightly with olive oil after baking for extra shine and flavor.
💡 Pro Tips (IMPORTANT)
- Don’t skip olive oil — it creates crispy edges
- Cold fermentation = better flavor (don’t rush overnight step)
- Wet hands help prevent sticking when handling dough
- More salt = better focaccia taste
- Don’t overcrowd toppings or dough won’t rise properly
- Let dough rest if it resists stretching (gluten relaxes over time)
❓ FAQ
Q1: Can I make this same day?
Yes, but flavor won’t be as deep. Overnight cold proof is best.
Q2: Can I use whole wheat flour?
Yes, but texture will be denser. Try 50/50 mix for balance.
Q3: Why is my focaccia not fluffy?
Usually due to:
- weak yeast
- not enough rise time
- skipping cold fermentation
Q4: Can kids help with this recipe?
Absolutely 👍 This is one of the most kid-friendly baking projects.
Q5: How do I store leftovers?
Keep in airtight container for 1–2 days. Reheat at 350°F for 5–10 mins.
🧠 Final Note
This focaccia bread art isn’t just food — it’s a whole experience. From dough handling to decorating, every step feels creative and calming.
And once it hits the table with olive oil for dipping… it’s gone before you know it.