
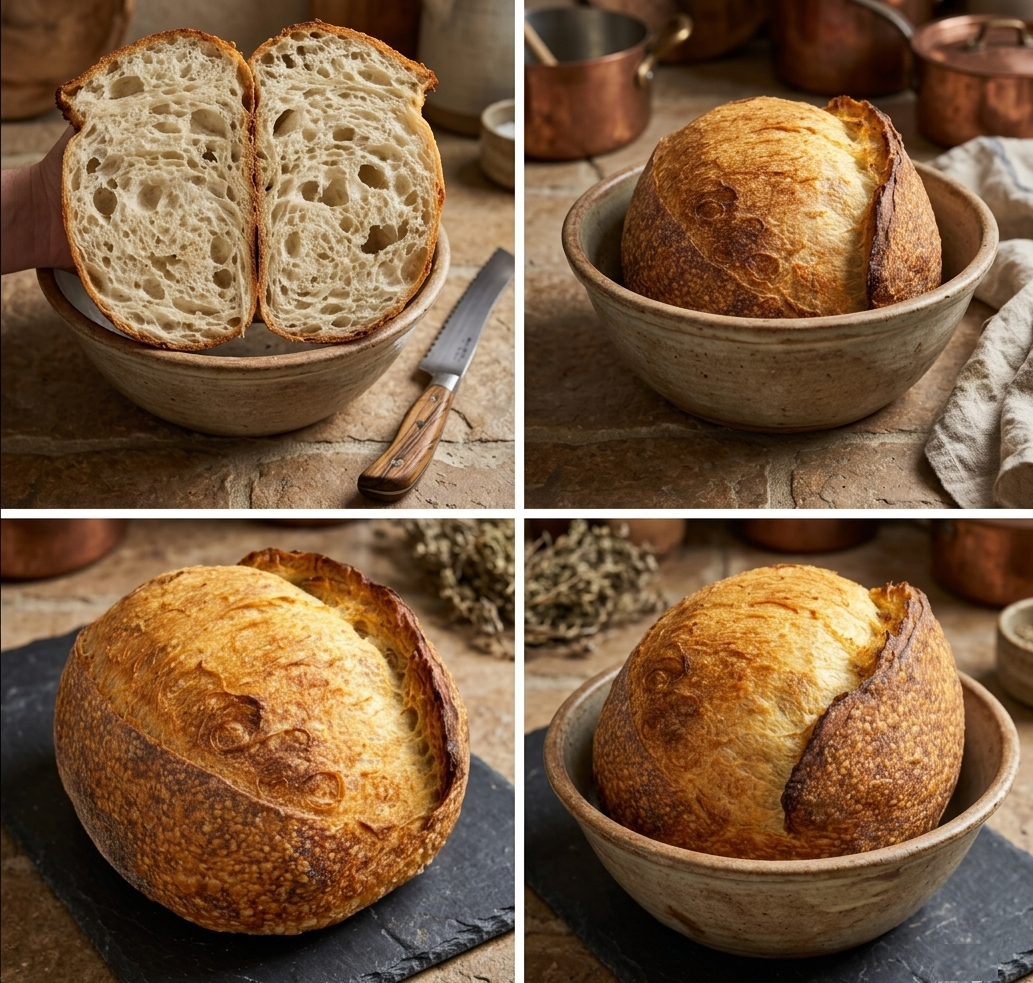
Introduction & Ingredients
🥖 Introduction
This is a fully detailed sourdough bread recipe designed for consistent bakery-level results at home. It focuses on strong gluten development, controlled fermentation, and an open airy crumb with a crisp golden crust.
Sourdough bread relies on natural fermentation using a live starter instead of commercial yeast. This gives it better flavor, texture, and digestibility.
🧾 Ingredients
Main Dough:
- 500g bread flour (high protein, 12–14%)
- 100g active sourdough starter (100% hydration, at peak)
- 325g water (room temperature)
- 10g salt
Optional Enhancements:
- 10–20g extra water (if flour absorbs more)
- Rice flour (for dusting banneton)
🔑 Key Ingredient Notes
- Bread flour: Provides strength for gluten network and open crumb.
- Starter: Must be bubbly, active, and pass float test.
- Water: Controls dough hydration and texture.
- Salt: Strengthens dough and improves flavor.
Dough Preparation & Mixing
🥣 Step 1: Autolyse (Optional but Recommended)
Mix flour + water only and rest for 30–60 minutes.
This improves gluten development naturally.
🥣 Step 2: Mixing Dough
Add:
- Active starter
- Salt
Mix by hand until no dry flour remains.
Dough should feel sticky but cohesive.
💪 Step 3: Strength Building (Slap & Fold)
- 30 slap & folds
- Rest 15 minutes
- 10 slap & folds
- Rest 30 minutes
Repeat until dough becomes smoother and elastic.
Fermentation & Shaping
🌡️ Bulk Fermentation
Time: 4–6 hours (depends on room temperature)
Perform:
- Coil fold every 30 minutes (3–4 times)
- Lamination once during mid fermentation
🫧 Signs of Proper Fermentation:
- Dough becomes airy and jiggly
- Increased volume (30–50%)
- Bubbles visible on surface
🧺 Shaping
- Pre-shape dough into round
- Rest 15 minutes
- Final tight shaping
- Place into banneton basket
❄️ Cold Proof
- Cover dough
- Refrigerate for 12–16 hours
This improves flavor, crust color, and scoring control.
Baking, Tips & FAQ
🔥 Baking Process
- Preheat oven to 250°C (at least 45–60 minutes)
- Use Dutch oven for best results
- Bake:
- 30 minutes covered (with steam trapped)
- 25–30 minutes uncovered
Cool completely before slicing (minimum 1 hour).
💡 Professional Tips
- Use strong, active starter only
- Do not overproof (kills oven spring)
- Handle dough gently to preserve air pockets
- Higher hydration = more open crumb
- Proper oven heat is critical
❓ FAQ (Frequently Asked Questions)
Q1: Why is my sourdough bread dense?
A: This usually happens due to underproofing, weak starter, or insufficient gluten development. Make sure your dough is airy and passes the windowpane test before baking.
Q2: Can I skip cold proofing?
A: Yes, but it is not recommended. Cold proofing improves flavor, crust color, and scoring control. Without it, bread may taste bland and less structured.
Q3: How do I know my starter is ready to use?
A: Your starter should double in size within 4–6 hours after feeding and should pass the float test (a small spoonful floats in water).
Q4: Why is my crust too hard or thick?
A: This can happen due to overbaking or lack of steam in the oven. Use a covered Dutch oven or add steam in the first 20–30 minutes.
Q5: Can I use all-purpose flour instead of bread flour?
A: Yes, but the crumb will be softer and less open. Bread flour gives better structure and stronger gluten formation.
Q6: What is the best temperature for fermentation?
A: Ideal room temperature is 24–27°C. Cooler temperatures slow fermentation, warmer speeds it up.
Q7: Why did my bread not rise in the oven?
A: This is usually due to overproofing or weak oven heat. Make sure oven is fully preheated and dough is not over-fermented.